I. Tổng Quan
1.1 Voice over IP
Voice over Internet Protocol (VoIP) là một giao thức dùng để truyền giọng nói qua mạng máy tính thông qua giao thức IP. Công nghệ VoIP chuyển đổi giọng nói thành tín hiệu Digital cho phép thực hiện cuộc gọi trực tiếp từ máy tính, VoIP phone,…
1.2 Asterisk
Asterisk là phần mềm dùng làm tổng đài điện thoại – Private Branch Exchange (PBX) được sử dụng để thiết lập và kiểm soát các cuộc gọi giữa các điểm cuối viễn thông, cho phép thực hiện các cuộc gọi nội bộ với nhau, hoặc kết nối với với hệ thống mạng điện thoại chuyển mạch công cộng – Public switched telephone network (PSTN) và các thiết bị hoặc dịch vụ thoại qua mạng IP (VoIP).
1.3 FreePBX
FreePBX là một ứng dụng web mã nguồn mở. Dùng để điều khiển và quản lý Asterisk (PBX) thông qua giao diện người dùng (GUI). Từ đó giúp việc điều khiển và quản lý dễ dàng và thân thiện hơn.
II. Các Bước Cài Đặt
Chuẩn bị
- Máy ảo VMware
- Hệ điều hành CentOS7 (đối với tự cài đặt)
- Ram: 512Mb – 1Gb
- Ổ đĩa: > 10Gb
Có 2 cách cài đặt:
2.1 Sử dụng bản ISO
Bản ISO đã được tích hợp sẵn CentOS7, Asterisk và FreePBX. Chọn phiên bản phù hợp và tải về theo đường dẫn: https://www.freepbx.org/downloads/
(Trong bài này sử dùng phiên bản: HISTORICAL SNG7-PBX-64bit-1904 | FreePBX 14 • Linux 7.6 • Asterisk 13 or 16)
Bước 1: Mở Vmware và chọn đường dẫn đến file ISO đã chuẩn bị
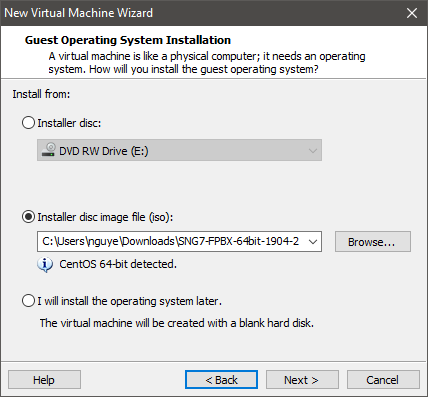
Bước 2: Cấu hình với thông số sau đây
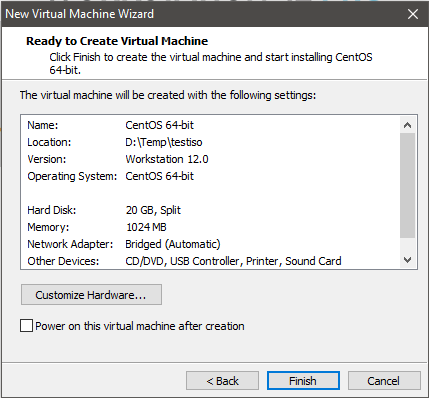
Bước 3: Khởi động máy ảo
- FreePBX 14 Installation (Asterisk 13) – Recommended Enter
- Graphical Installation – Output to VGA Enter
- FreePBX Standard Enter
- Trong phần Installation Summary lưu ý bật card mạng
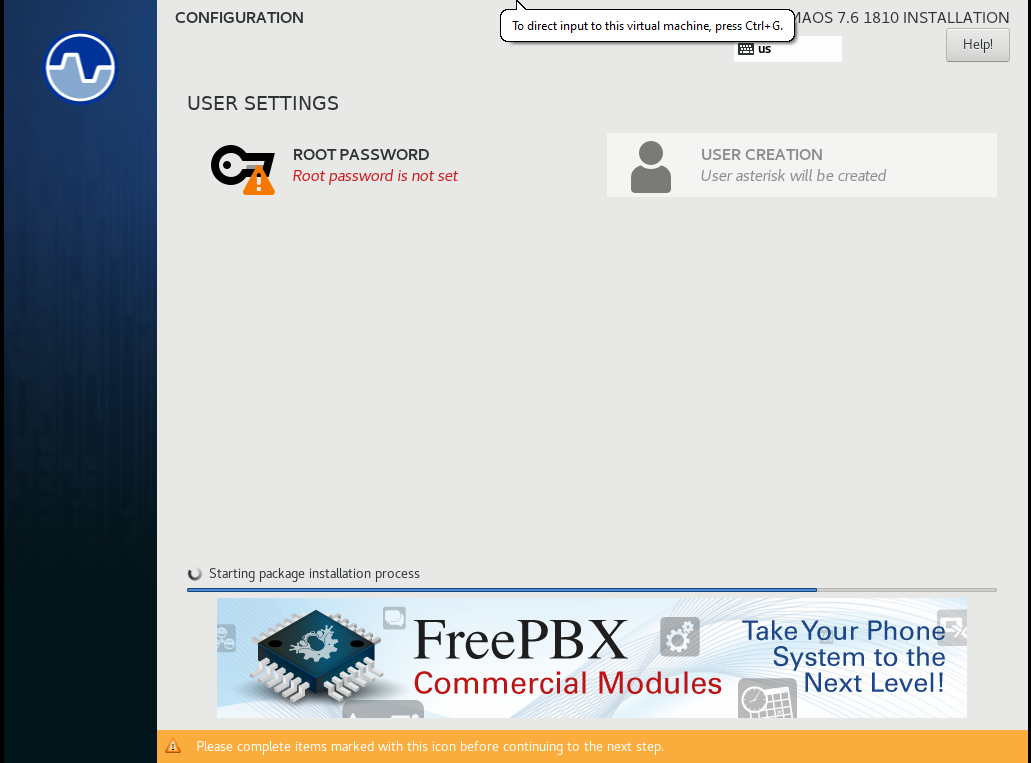
Bước 4: Đặt mật khẩu trong phần ROOT PASSWORD
Bước 5: Reboot sau khi hoàn tất
- Đăng nhập lại với local host là root, password là mật khẩu đã tạo.
2.2 Cài đặt trên CentOS 7
Cài đặt hệ điều hành CentOS7 tương tự 5 bước trên. Ở bước 1 thay đổi đường dẫn là file ISO CentOS.
2.2.1 Cài đặt hệ thống
|
setenforce 0
|
|
sed -i ‘s/^SELINUX=.*/SELINUX=disabled/g’ /etc/selinux/config
|
|
ln -sf /usr/share/zoneinfo/Asia/Ho_Chi_Minh /etc/localtime
|
- Cập nhật hệ thống đảm bảo các gói update mới nhất
|
yum -y update && yum -y groupinstall core && yum -y groupinstall base && yum -y install epel-release && yum -y remove sendmail
|
|
yum -y install automake gcc gcc-c++ ncurses-devel openssl-devel libxml2-devel unixODBC-devel libcurl-devel libogg-devel libvorbis-devel speex-devel spandsp-devel freetds-devel net-snmp-devel iksemel-devel corosynclib-devel newt-devel popt-devel libtool-ltdl-devel lua-devel sqlite-devel radiusclient-ng-devel portaudio-devel neon-devel libical-devel openldap-devel gmime-devel mysql-devel bluez-libs-devel jack-audio-connection-kit-devel gsm-devel libedit-devel libuuid-devel libsrtp-devel git subversion libxslt-devel kernel-devel audiofile-devel gtk2-devel libtiff-devel libtermcap-devel ilbc-devel python-devel bison tftp-server httpd sox tzdata mysql-connector-odbc mariadb mariadb-server fail2ban jwhois xmlstarlet ghostscript libtiff-tools patch e2fsprogs mpg123 lame gstreamer postfix mongodb-server
|
|
rpm -Uvh https://dl.fedoraproject.org/pub/epel/epel-release-latest-7.noarch.rpm
|
|
rpm -Uvh https://mirror.webtatic.com/yum/el7/webtatic-release.rpm
|
|
yum -y install https://centos7.iuscommunity.org/ius-release.rpm
|
|
yum -y install yum-plugin-replace
|
|
yum replace php –replace-with php56u
|
|
yum –enablerepo=ius-archive -y install php56u php56u-mysqlnd php56u-process php56u-pear php56u-mbstring php56u-xml php56u-gd php56u-curl
|
|
curl –silent –location https://rpm.nodesource.com/setup_8.x | sudo bash –
|
|
yum -y install nodejs
|
|
cat >> /etc/odbc.ini << EOF
[MySQL-asteriskcdrdb]
Description = MariaDB connection to ‘asteriskcdrdb’ database
driver = MySQL
server = localhost
database = asteriskcdrdb
Port = 3306
Socket = /var/lib/mysql/mysql.sock
option = 3
Charset=utf8
|
|
EOF
|
- Khởi động mariadb
|
systemctl enable mariadb.service
|
|
systemctl start mariadb
|
|
systemctl enable httpd.service
|
|
systemctl start httpd.service
|
|
systemctl stop firewalld
|
|
systemctl mask firewalld
|
- Reboot lại hệ thống
2.2.2 Cài đặt Asterisk FreePBX
|
cd /usr/src
|
|
wget http://www.pjsip.org/release/2.5.5/pjproject-2.5.5.tar.bz2
|
|
tar -xjvf pjproject-2.5*
|
|
cd /usr/src/pjproject-2.5*/
|
|
make distclean
|
|
./configure –prefix=/usr –libdir=/usr/lib64 –enable-shared –disable-sound –disable-resample
|
|
–disable-video –disable-opencore-amr CFLAGS=’-O2 -DNDEBUG’
|
|
make uninstall && ldconfig && make dep && make && make install && ldconfig
|
- Cài Asterisk 16
|
cd /usr/src
|
|
wget http://downloads.asterisk.org/pub/telephony/asterisk/asterisk-16-current.tar.gz
|
- Biên dịch và cài đặt Asterisk
|
cd /usr/src
|
|
tar xvfz asterisk-16-current.tar.gz
|
|
rm -f asterisk-16-current.tar.gz
|
|
cd asterisk-*
|
|
contrib/scripts/install_prereq install
|
|
./configure –libdir=/usr/lib64 –with-pjproject-bundled –with-jansson-bundled
|
|
contrib/scripts/get_mp3_source.sh
|
|
make menuselect
|
- Chọn các module và ứng dụng sau đó Save & Exit
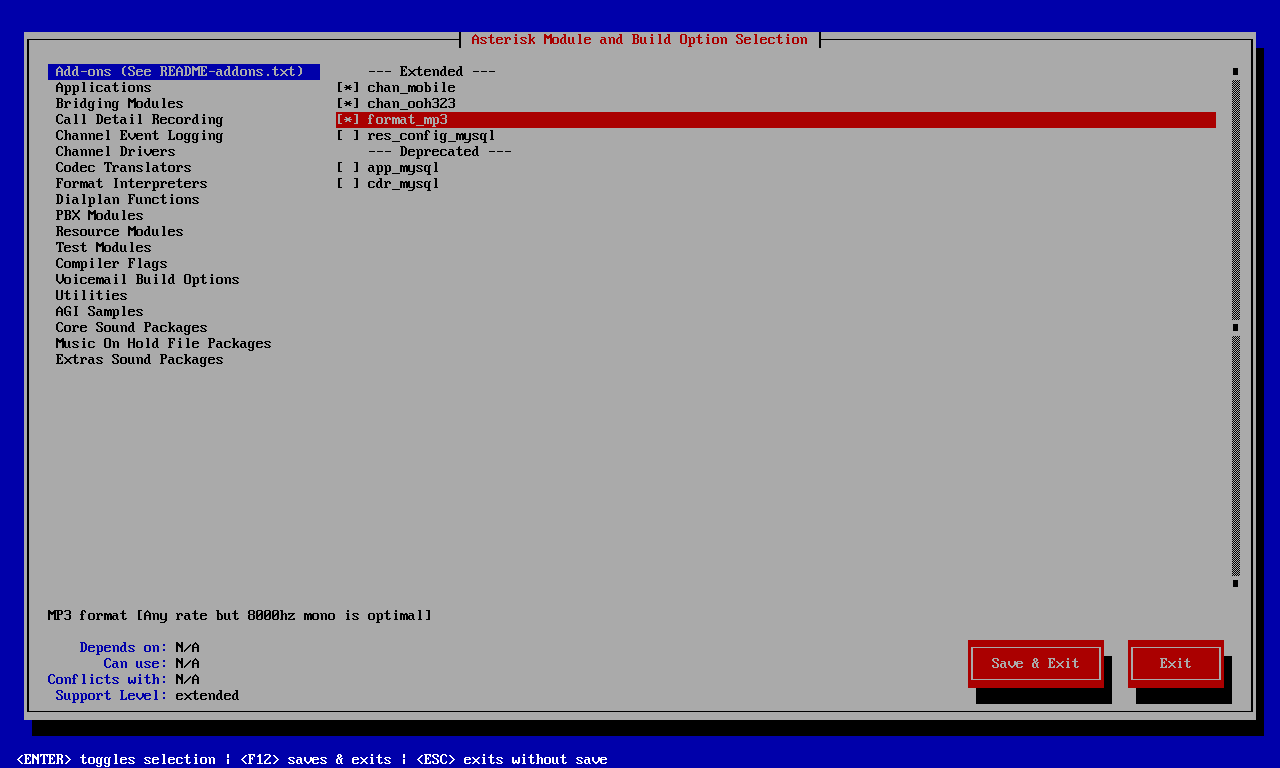
Add-ons
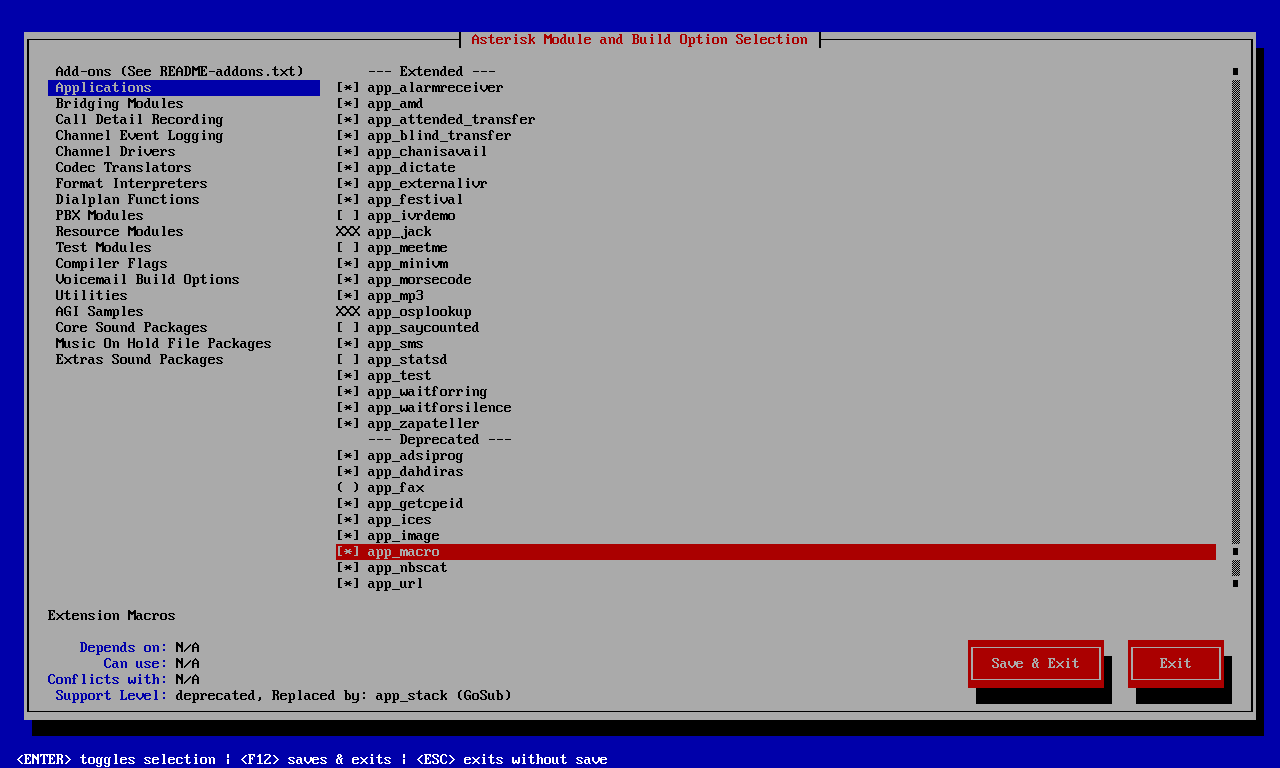
Applications

Core Sound Packages
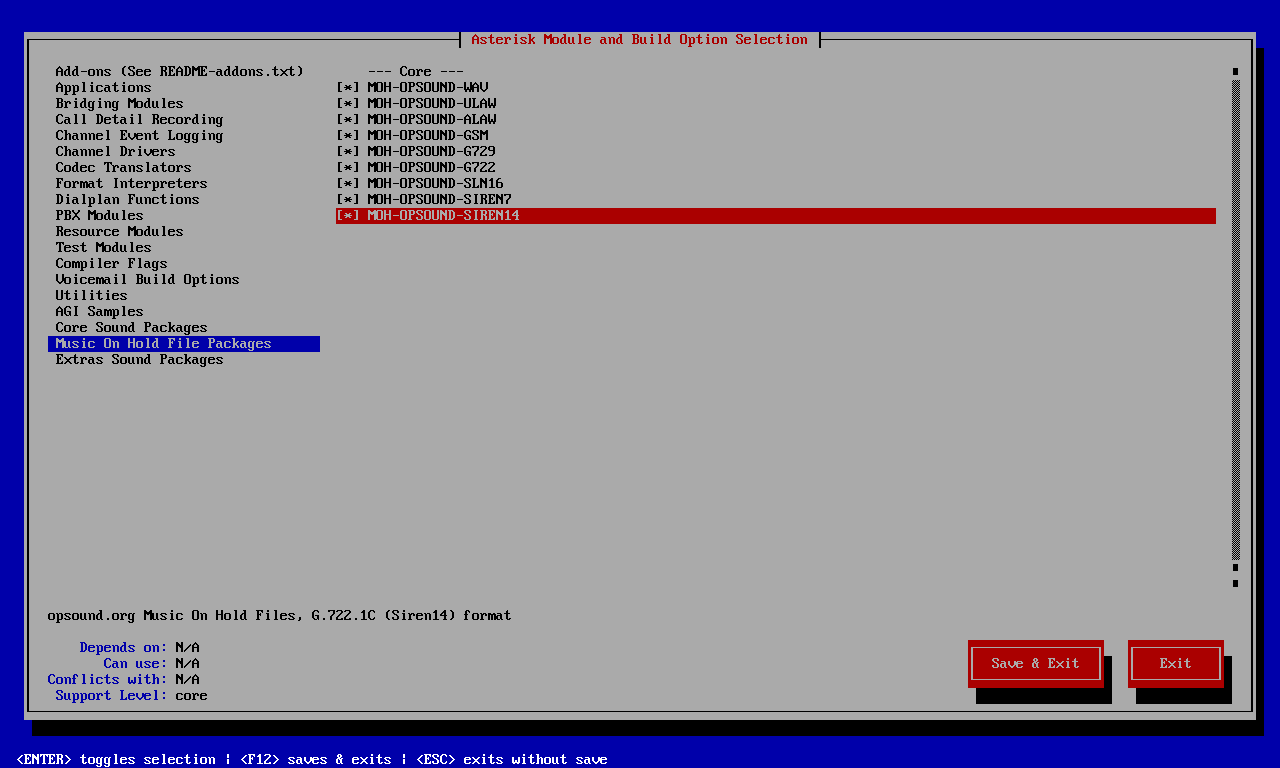
Music On Hold File Packages
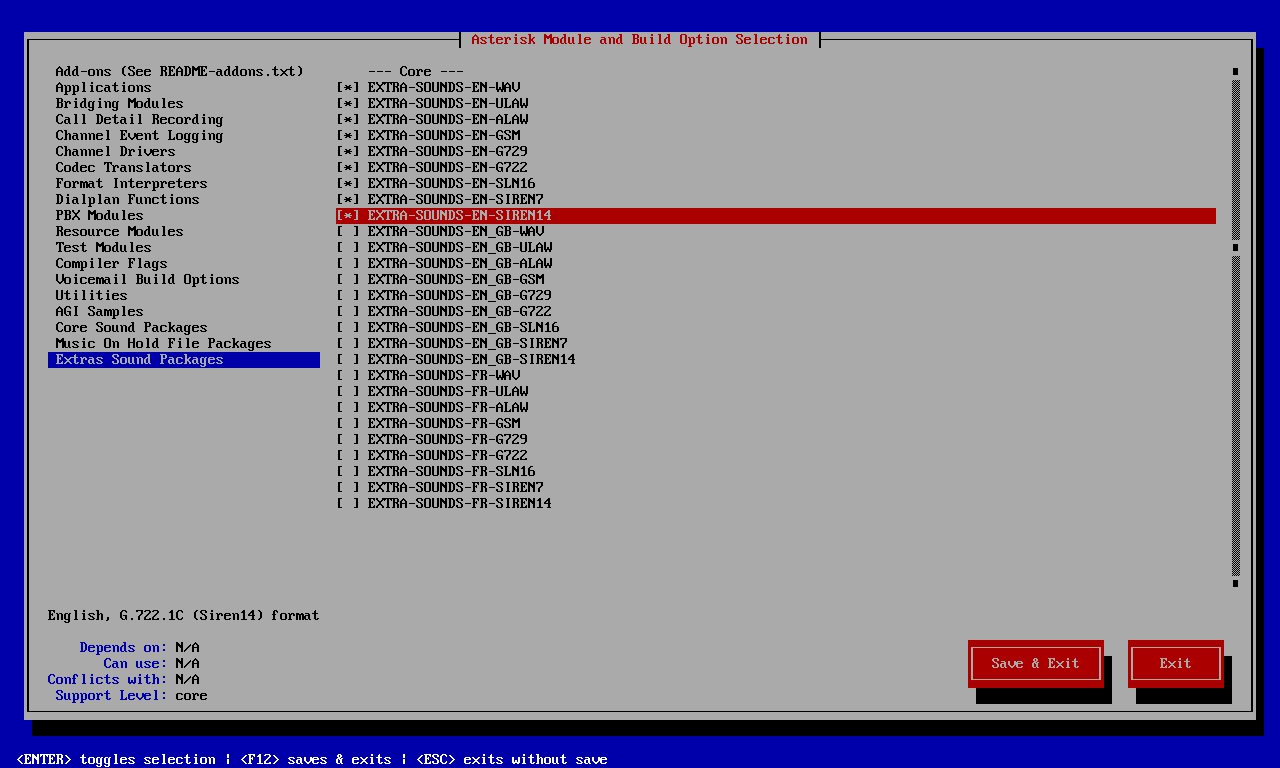
Extras Sound Packages
- Thiết lập phân quyền chạy dưới user Asterisk
|
adduser asterisk -s /sbin/nologin -c “Asterisk User”
|
- Bắt đầu biên dịch và cài đặt
|
make && make install && chown -R asterisk. /var/lib/asterisk
|
|
systemctl disable asterisk
|
- Thiết lập cài đặt lại FreePBX cho Apache và PHP
|
sed -i ‘s/(^upload_max_filesize = ).*/120M/’ /etc/php.ini
|
|
sed -i ‘s/^(User|Group).*/1 asterisk/’ /etc/httpd/conf/httpd.conf
|
|
sed -i ‘s/AllowOverride None/AllowOverride All/’ /etc/httpd/conf/httpd.conf
|
|
systemctl restart httpd.service
|
|
cd /usr/src
|
|
wget http://mirror.freepbx.org/modules/packages/freepbx/freepbx-14.0-latest.tgz
|
|
tar xfz freepbx-14.0-latest.tgz
|
|
rm -f freepbx-14.0-latest.tgz
|
|
cd freepbx
|
|
touch /etc/asterisk/modules.conf
|
|
./start_asterisk start
|
|
./install -n
|
|
cat > /etc/systemd/system/freepbx.service <
[Unit]
Description=Freepbx
After=mariadb.service
|
|
[Service]
Type=oneshot
RemainAfterExit=yes
ExecStart=/usr/sbin/fwconsole start
ExecStop=/usr/sbin/fwconsole stop
|
|
[Install]
WantedBy=multi-user.target
EOF
|
|
systemctl enable freepbx
|
- Mở cổng TCP 80 cho phép truy cập vào
|
firewall-cmd –zone=public –add-port=80/tcp –permanent
|
|
firewall-cmd –permanent –zone=public –add-service={http,https}
|
|
firewall-cmd –permanent –zone=public –add-port=5060-5061/tcp
|
|
firewall-cmd –permanent –zone=public –add-port=5060-5061/udp
|
|
firewall-cmd –permanent –zone=public –add-port=10000-20000/udp
|
|
firewall-cmd –reload
|
2.2.3 Tạo Extensions
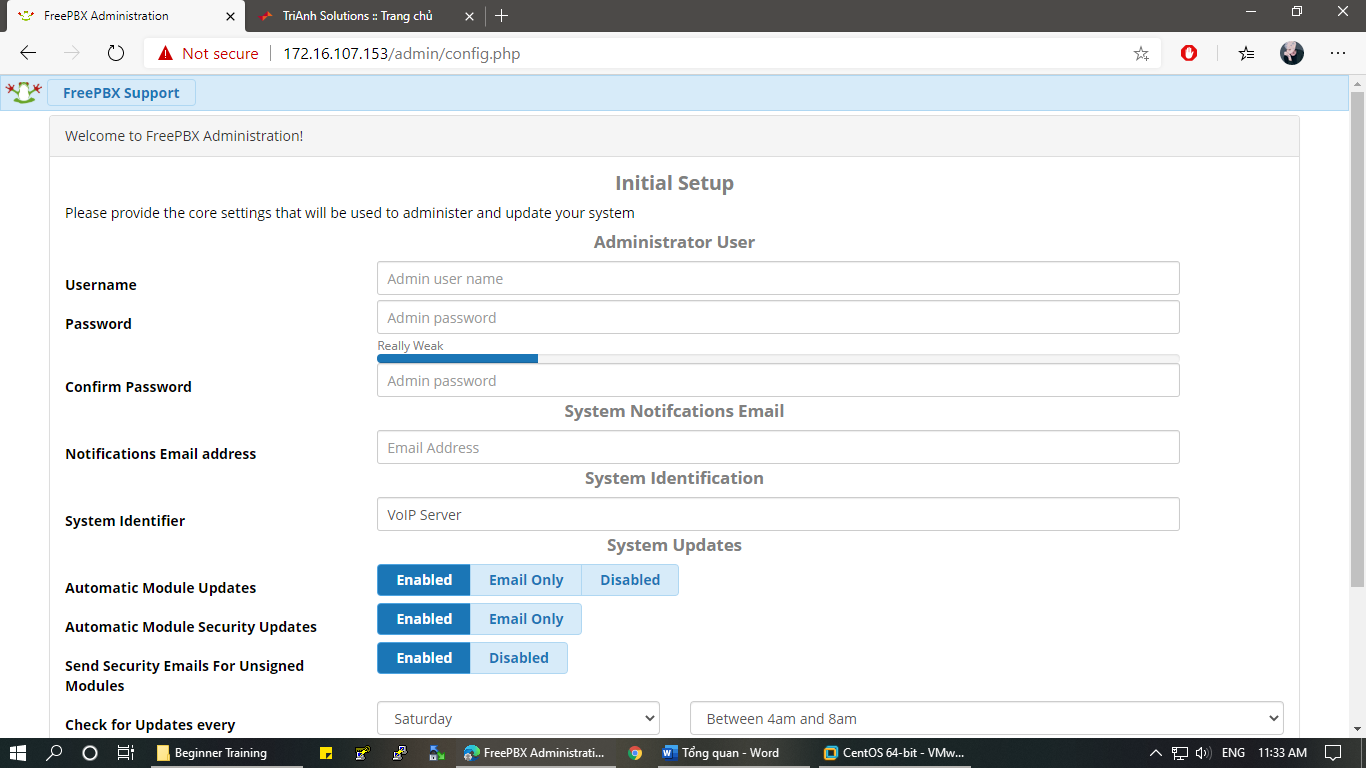
- Mở trình duyệt web, truy cập vào địa chỉ IP cùa Server
Trong tab Applications ” Extensions ” Add Extensions ” Add New PJSIP Extention
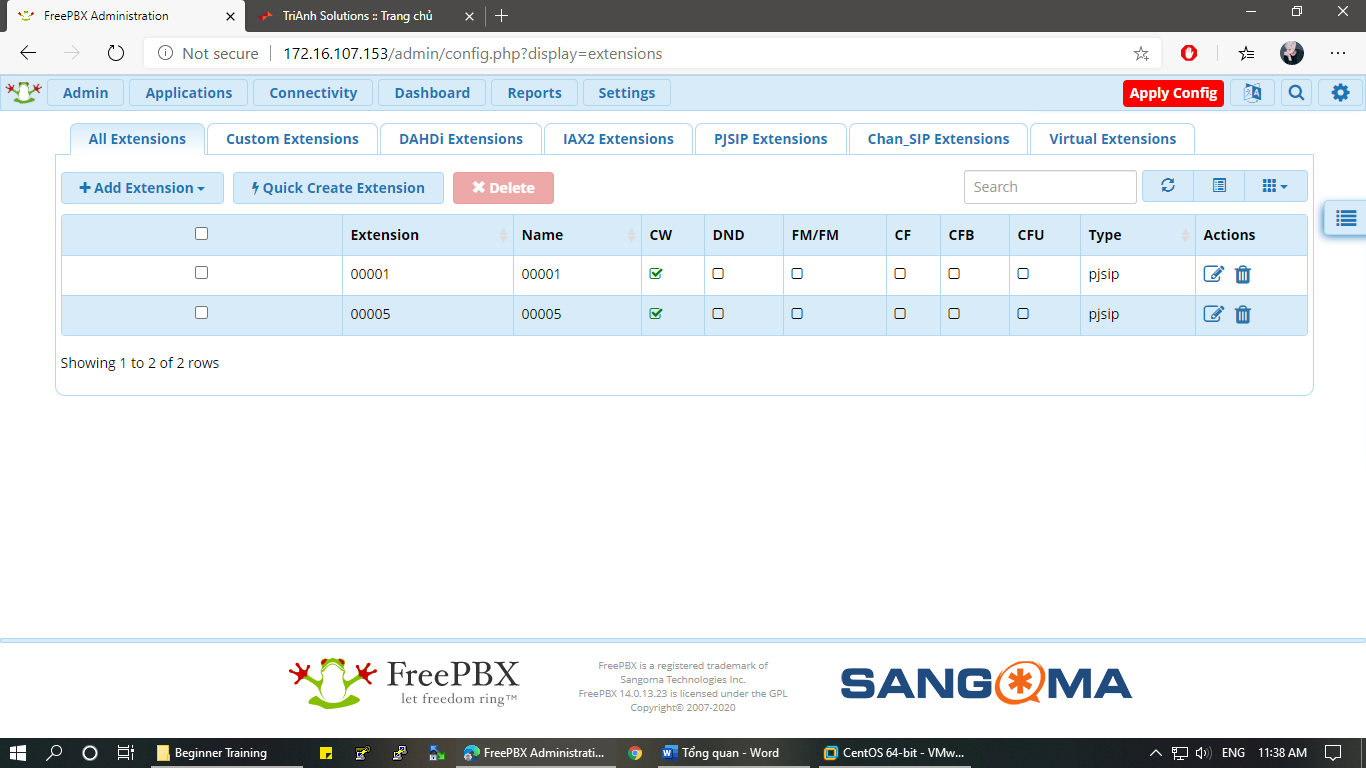 Sau đó Apply Config
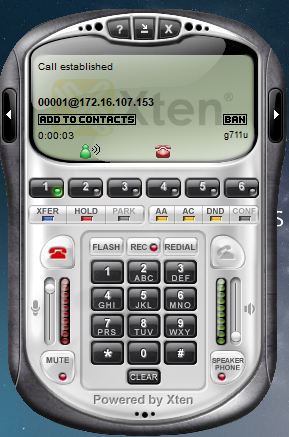
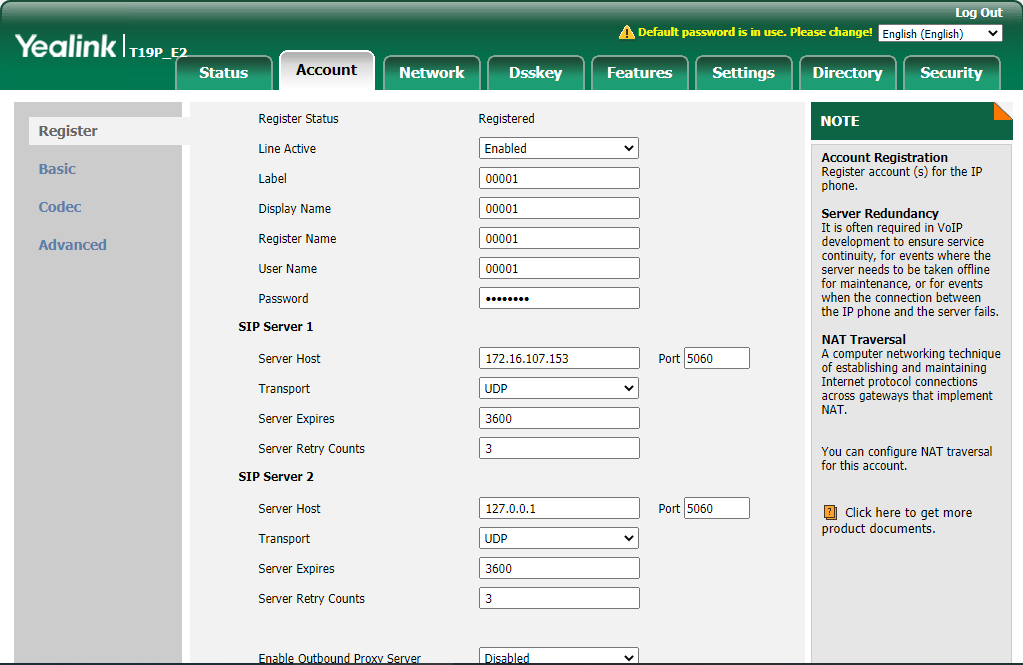
2.2.4 Thực hiện cuộc gọi
Sử dụng phần mềm eyeBeam cấu hình như sau:
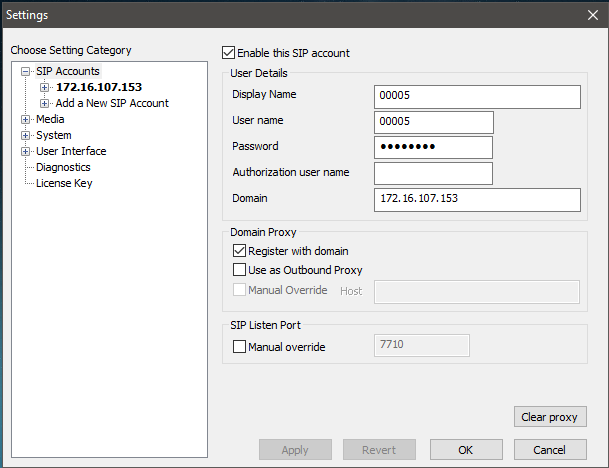
- Thực hiện cuộc gọi và kết quả hoàn thành